Raspberry Pi is a tiny computer that can be used for many things. We will show you how to build your own web server on it. It won’t have any graphical interface, we will control it like proper nerds through the command line.
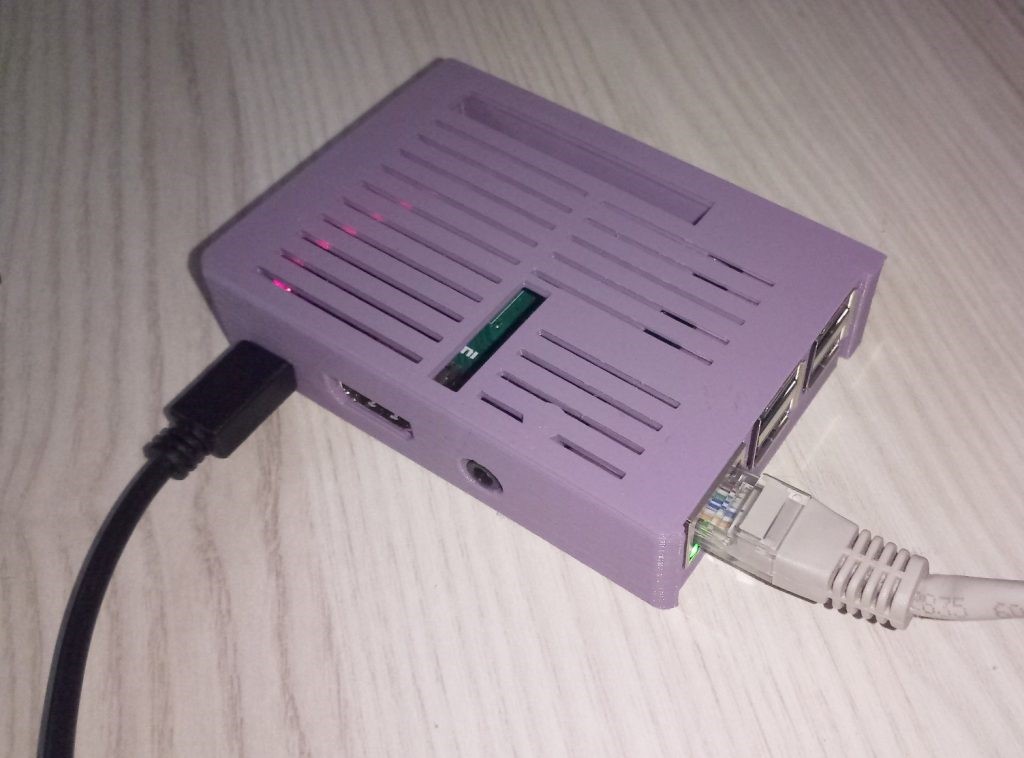
My beautiful Raspberry Pi 3B+ in a 3D printed case
Installing Raspbian
If we already have Raspbian (a specially modified version of Linux) installed, we just need to check that SSH is enabled. If not:
- Download Raspbian Lite and extract it. This will give us an .img file.
- Then download Win32 Disk Imager and “burn” the downloaded .img file to a Micro SD card.
- Two partitions will be created on the card, and on the one named “boot”, create an empty text file (without an extension) named “ssh”. This will enable SSH connection.
- You can remove the card from the computer and insert it into the Raspberry Pi, which is already connected to the network via an Ethernet cable (to the same network as our computer) and to the electricity.
Connecting to Raspberry
Start the command line (cmd) and connect with the command:
ssh pi@raspberrypi
The default password is “raspberry”. I assume you have a new version of Windows 10, which has an integrated ssh client, otherwise use something like Putty. And we’re there!
Installing Apache
We will use Apache2 as the web server - a timeless classic. We will update the system with three commands and install Apache:
sudo apt-get update sudo apt-get upgrade sudo apt-get install apache2
And we’re basically done!
Testing
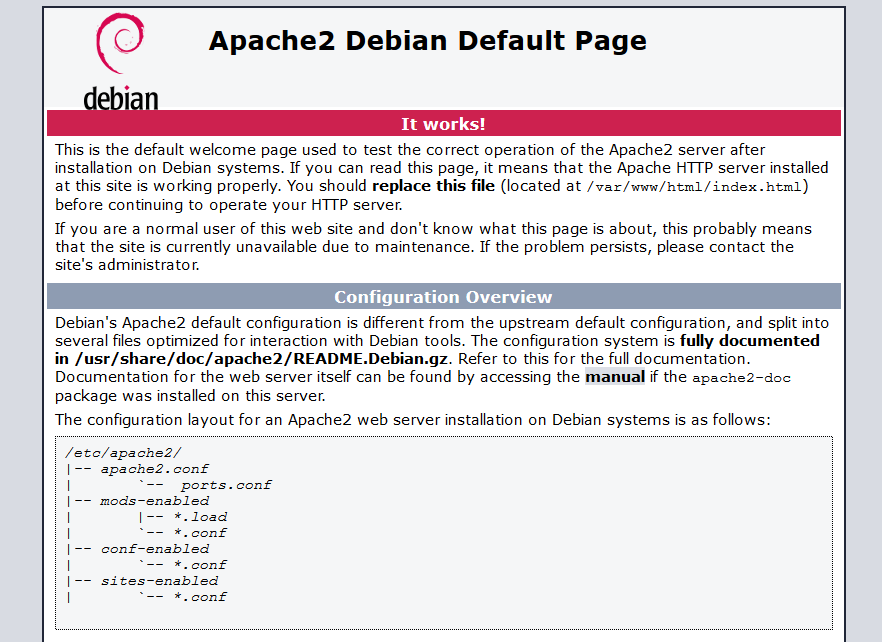
Now we will check if the web server is running from our computer. Go to the address http://raspberrypi/ and if you see this, it’s working!
Some tips in conclusion
We can modify the content of the default web server page (in a simple editor called nano) with the command:
sudo nano /var/www/html/index.html
Close the editor (and save changes) by pressing the combination Ctrl + X and then Y.
If we want to make the web server accessible from the external internet, it’s also quite simple, but be careful about security. Basically, you have to set up “port forwarding” on the router, which means you will be opening certain ports (in our case port 80) to the external internet. The settings differ for each router. Then you will be able to access Raspberry from anywhere, if you know your router’s IP address. Alternatively, you can direct a domain to it.
I recommend changing the default password. You can do this with the utility:
sudo raspi-config
Web server security is a broad topic. I recommend installing fail2ban.