When 3D printing, you have three options:
- Print directly from your computer - but your computer must be on, not asleep, and the printing program must not crash, etc.
- Print from an SD card - the printer then works independently, requiring only electricity to operate.
- Print from a connected microcomputer = server = Raspberry Pi - the computer runs nonstop, communicates with the printer, and we control it either over a local network or remotely.
Today’s article will focus on the last option - using a Raspberry Pi (B+ .. performance matters) and the open-source application OctoPrint.
Installing OctoPrint
The recommended way is to download the OctoPi operating system image (a modified Raspbian), and load it onto an SD card. This way, everything is ready.
However, I don’t like the idea of replacing my finely tuned system with a completely new one and starting over. So, I decided to do a manual installation. It’s not complicated, and the steps are described in this guide.
What it looks like
We control OctoPrint through a web interface:
- Directly on the Raspberry Pi via http://127.0.0.1:5000
- On the local network via http://raspberrypi:5000
- Remotely - a bit more complicated, either through port-forwarding (but be careful, you don’t want someone else controlling your printer), through a service like pitunnel.com, or through remote desktop - VNC - RealVNC is available for free and tailored specifically for Raspberry.
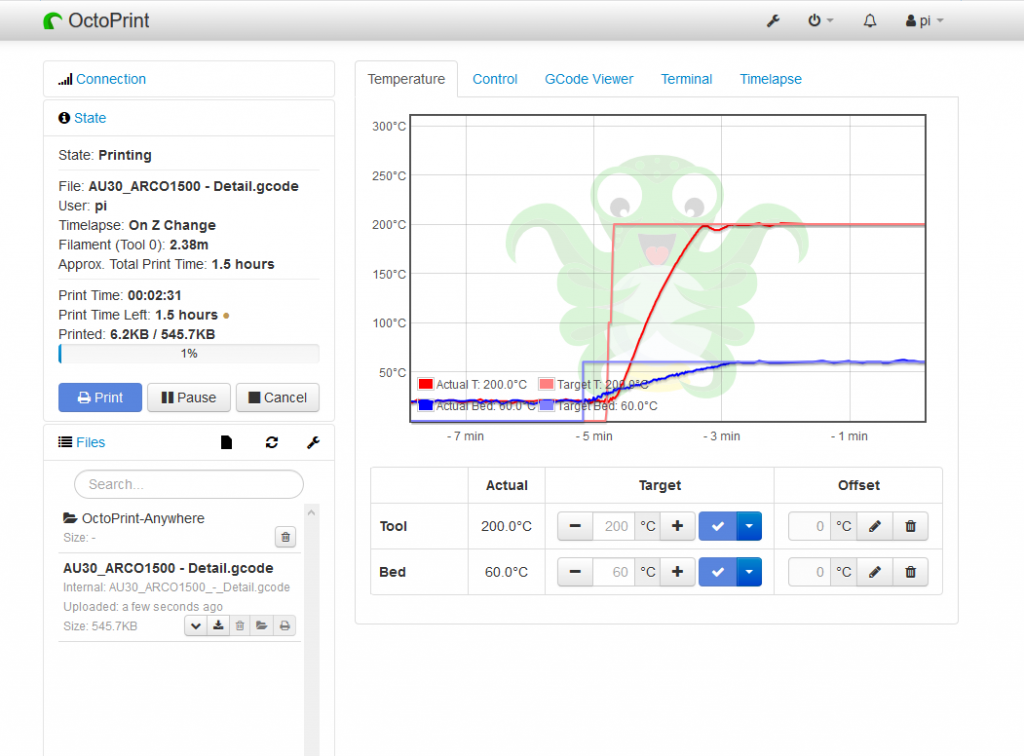
The program connects to the printer, you upload a G-code file, and start printing.

You can monitor the printing process, control the head, temperature, etc.
Can we connect a camera?
I dug up a very old webcam with a resolution of 640x480. I installed the program [fswebcam](https://www.raspberrypi.org/documentation/usage/webcams/) and, lo and behold, the camera worked without drivers. You can set it up in OctoPrint, and it will make timelapse videos for you. I made one too (in really poor quality :)).
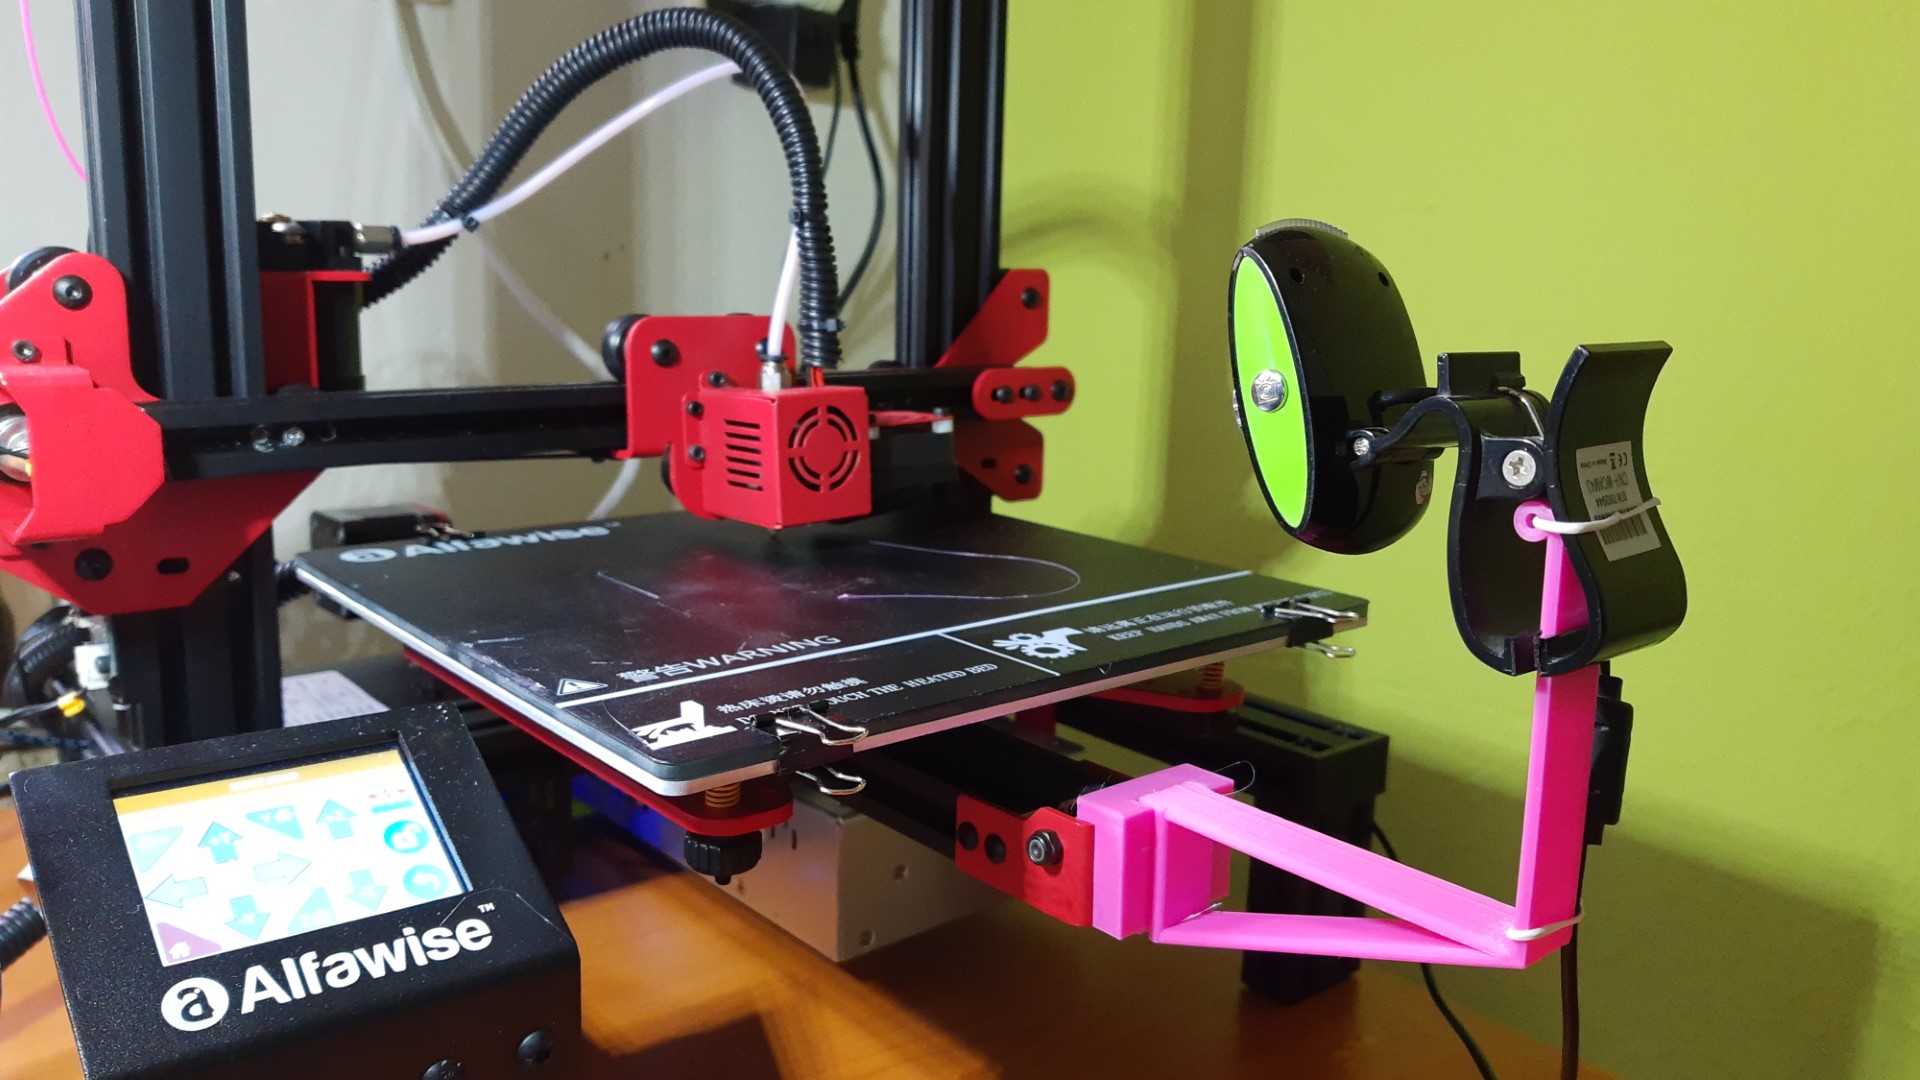
Camera mount from Thinkdiverse
https://www.youtube.com/watch?v=lkndKj8_Edk
Night 3D printing - timelapse video created by OctoPrint