Who could resist building their own gaming console? I decided to build an Arcade Cabinet, in the “tabletop” version, also known as a Bartop. I watched several American videos (they all do it the same way) and adapted it a bit for Czech conditions and my own needs (no nail gun, no joysticks, no rubber around the edges). Finally, I found a reasonable use for my Raspberry Pi 3A, which was “lying around in a drawer”. All I had to do was install Retropie on it. I had already done that in the past, but the whole point is to have your own “hardware”, or better yet, a box.
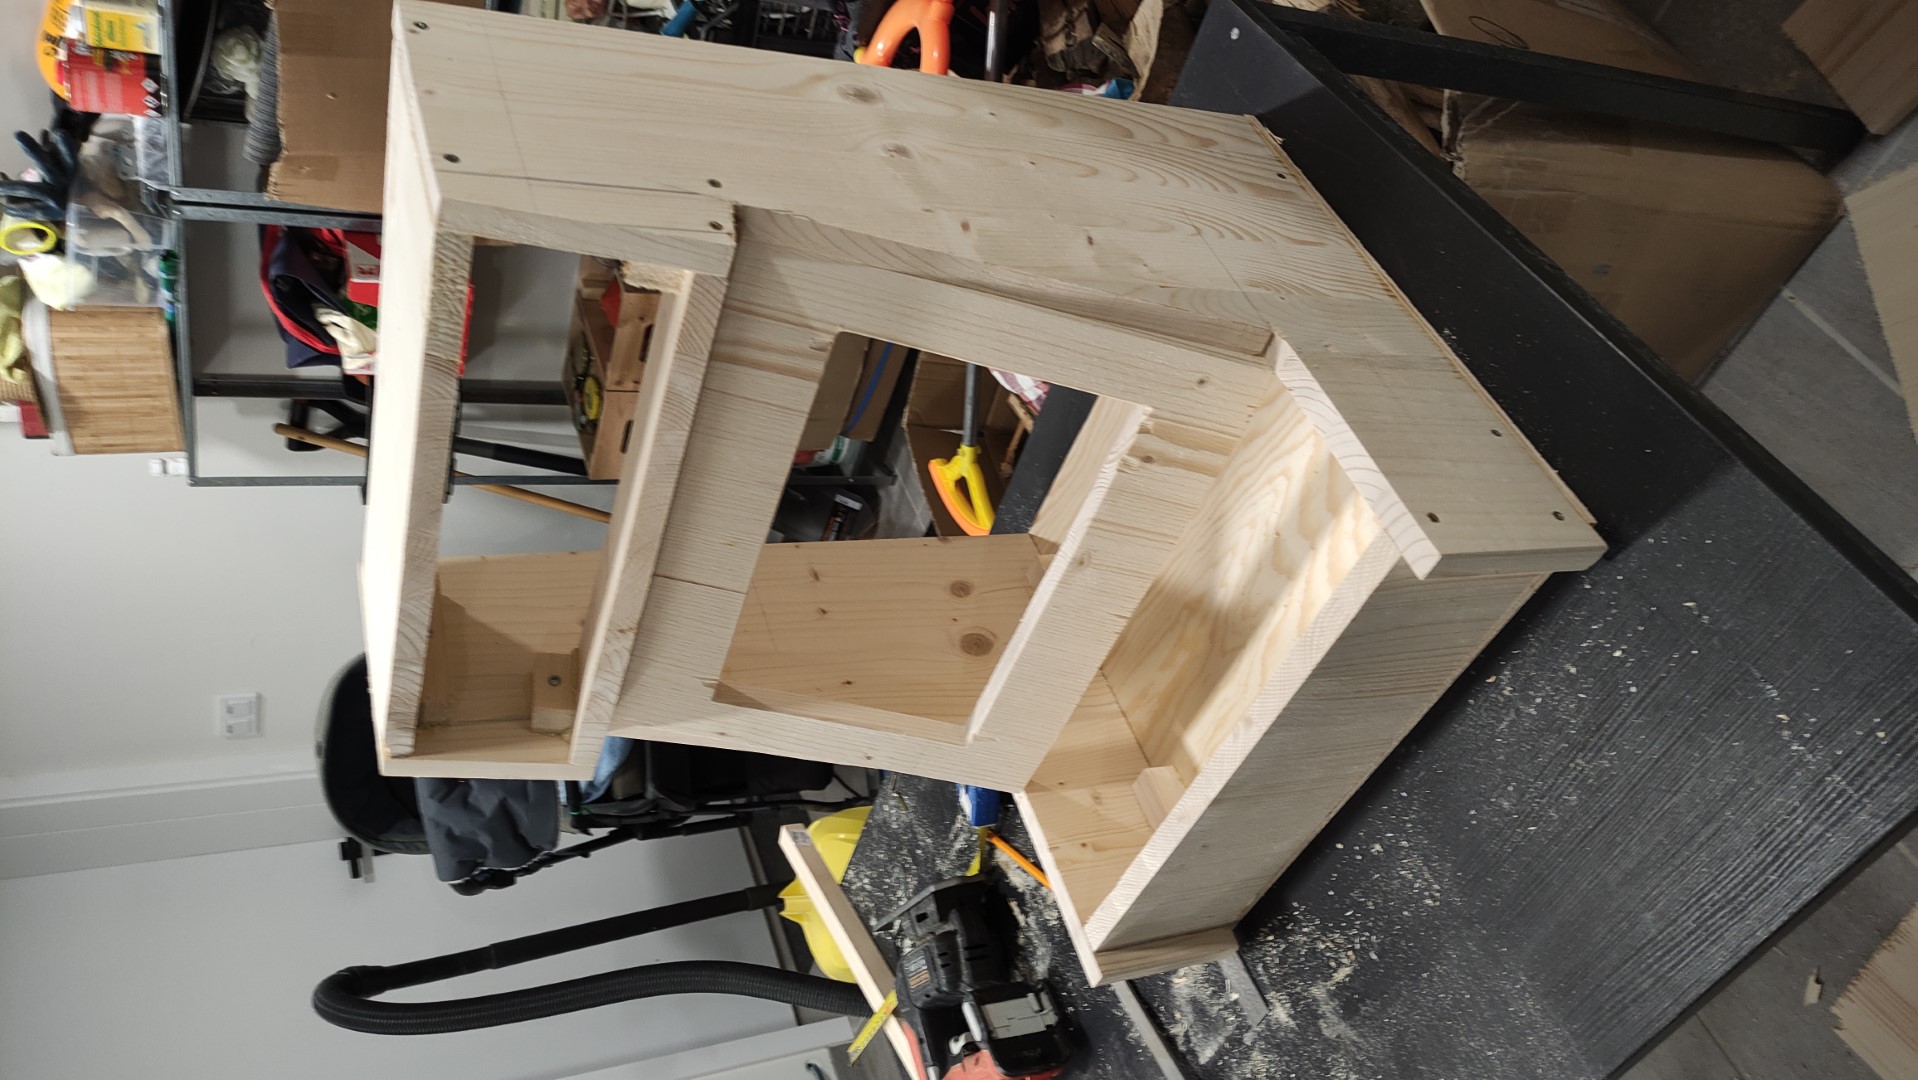
The base is made up of side walls made of tongue-and-groove boards, which I also used for the frame around the display and the front. The back door, shelf, and bottom are made of plywood. I glued everything together and screwed it together with screws.
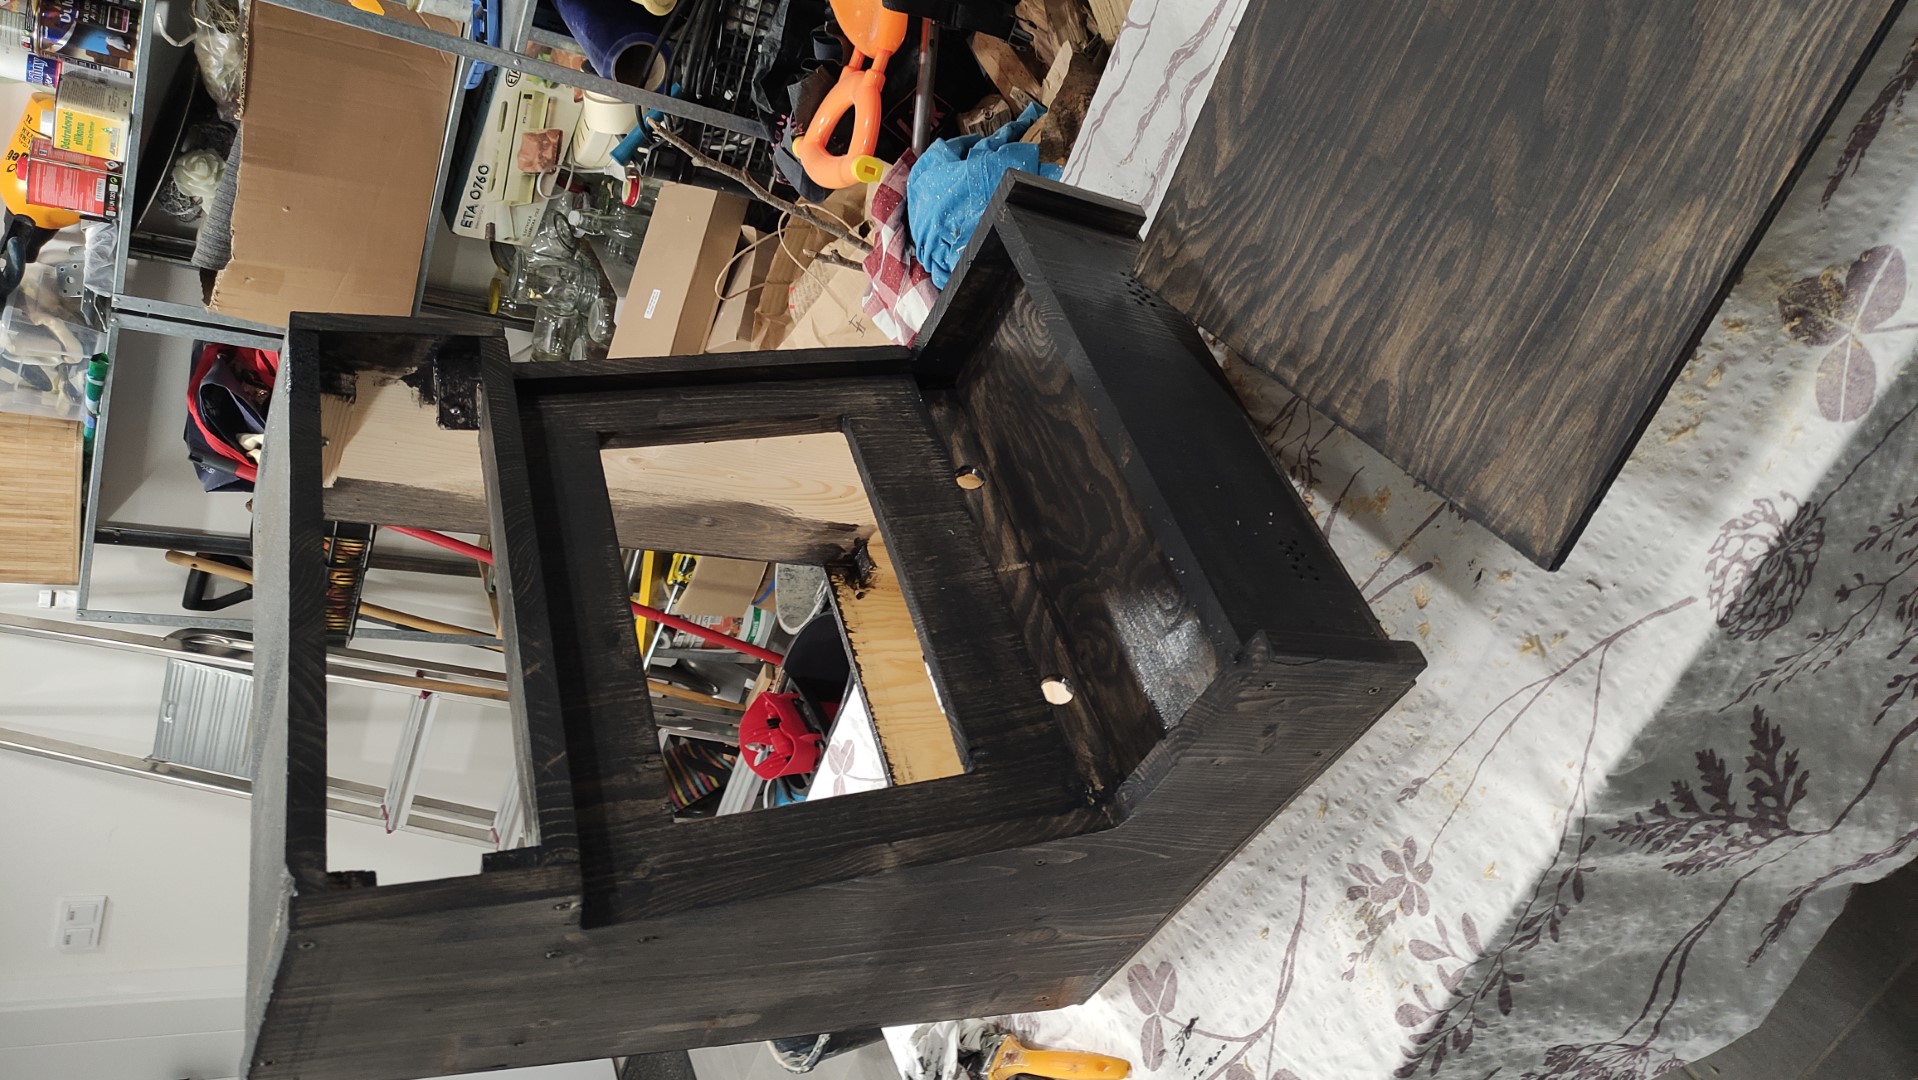
Then I painted it.
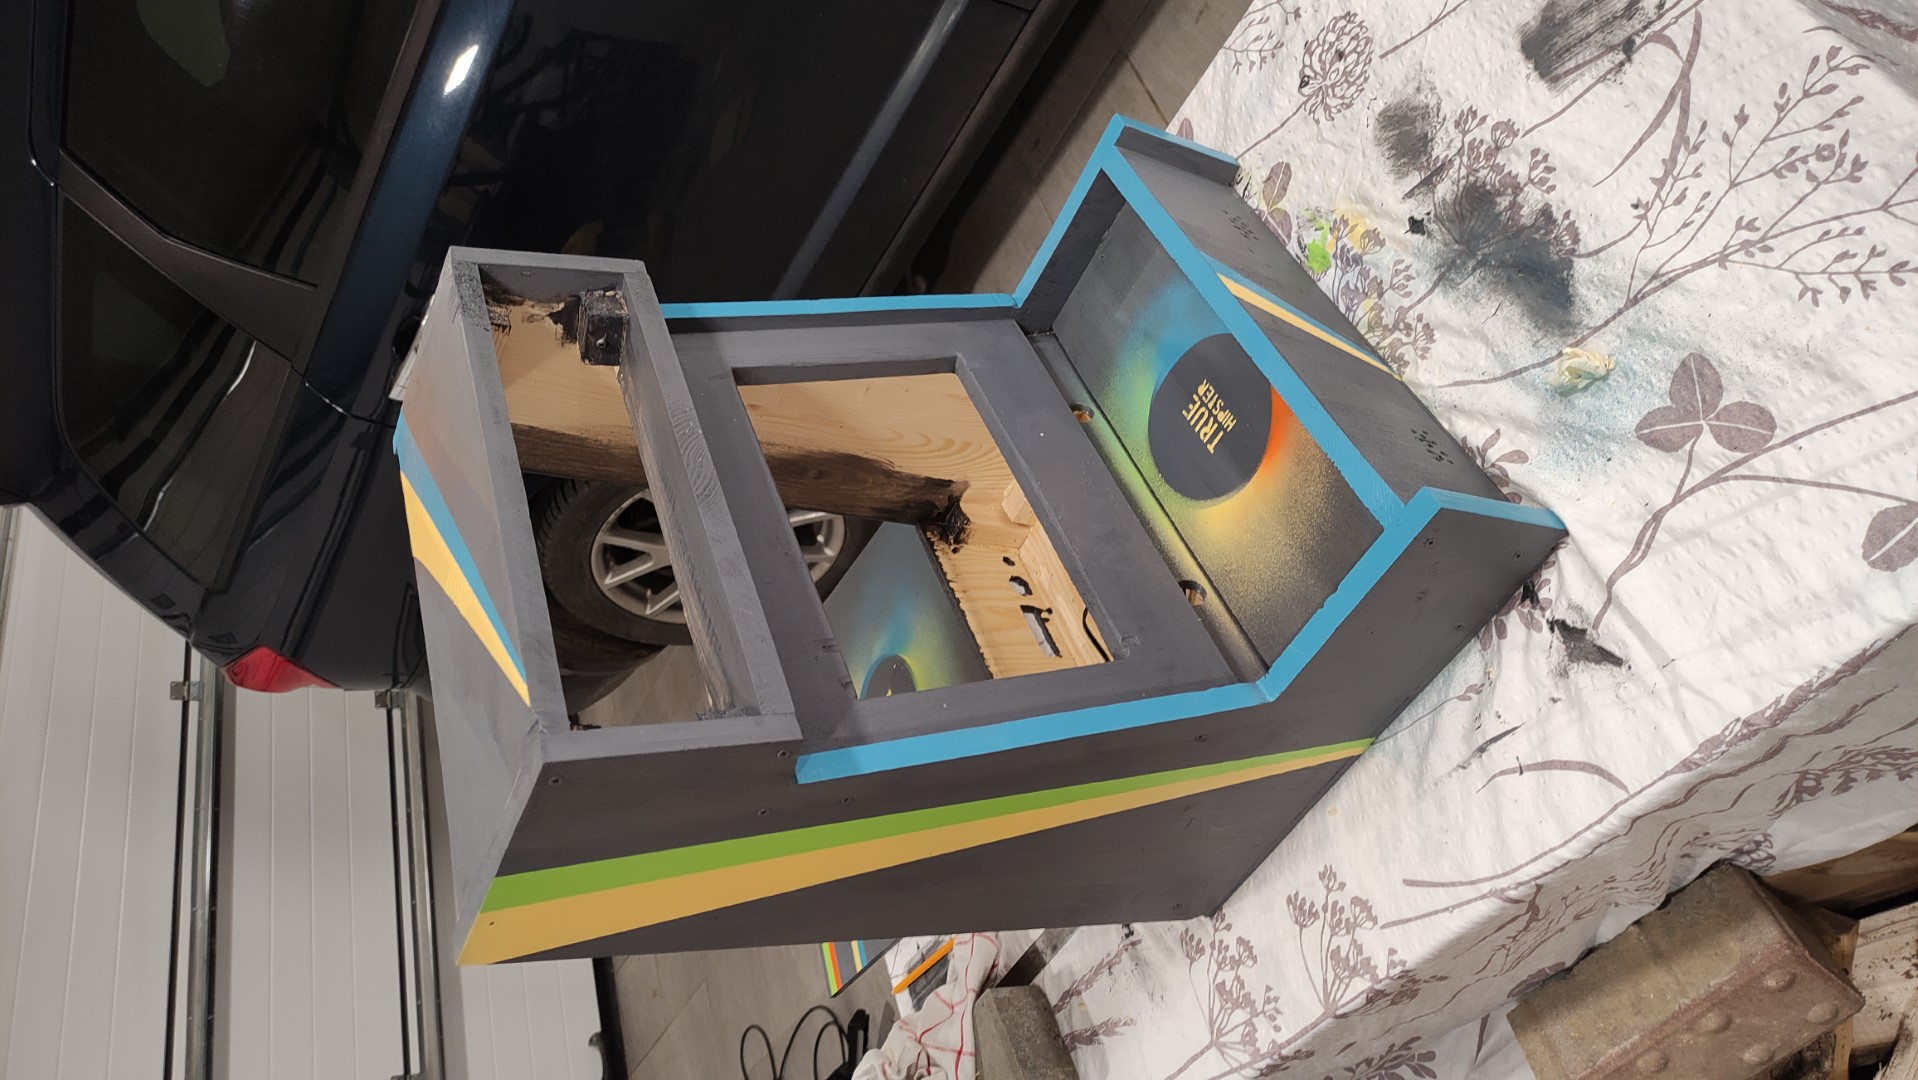
And did a little spray painting. At this point, I was absolutely enchanted.

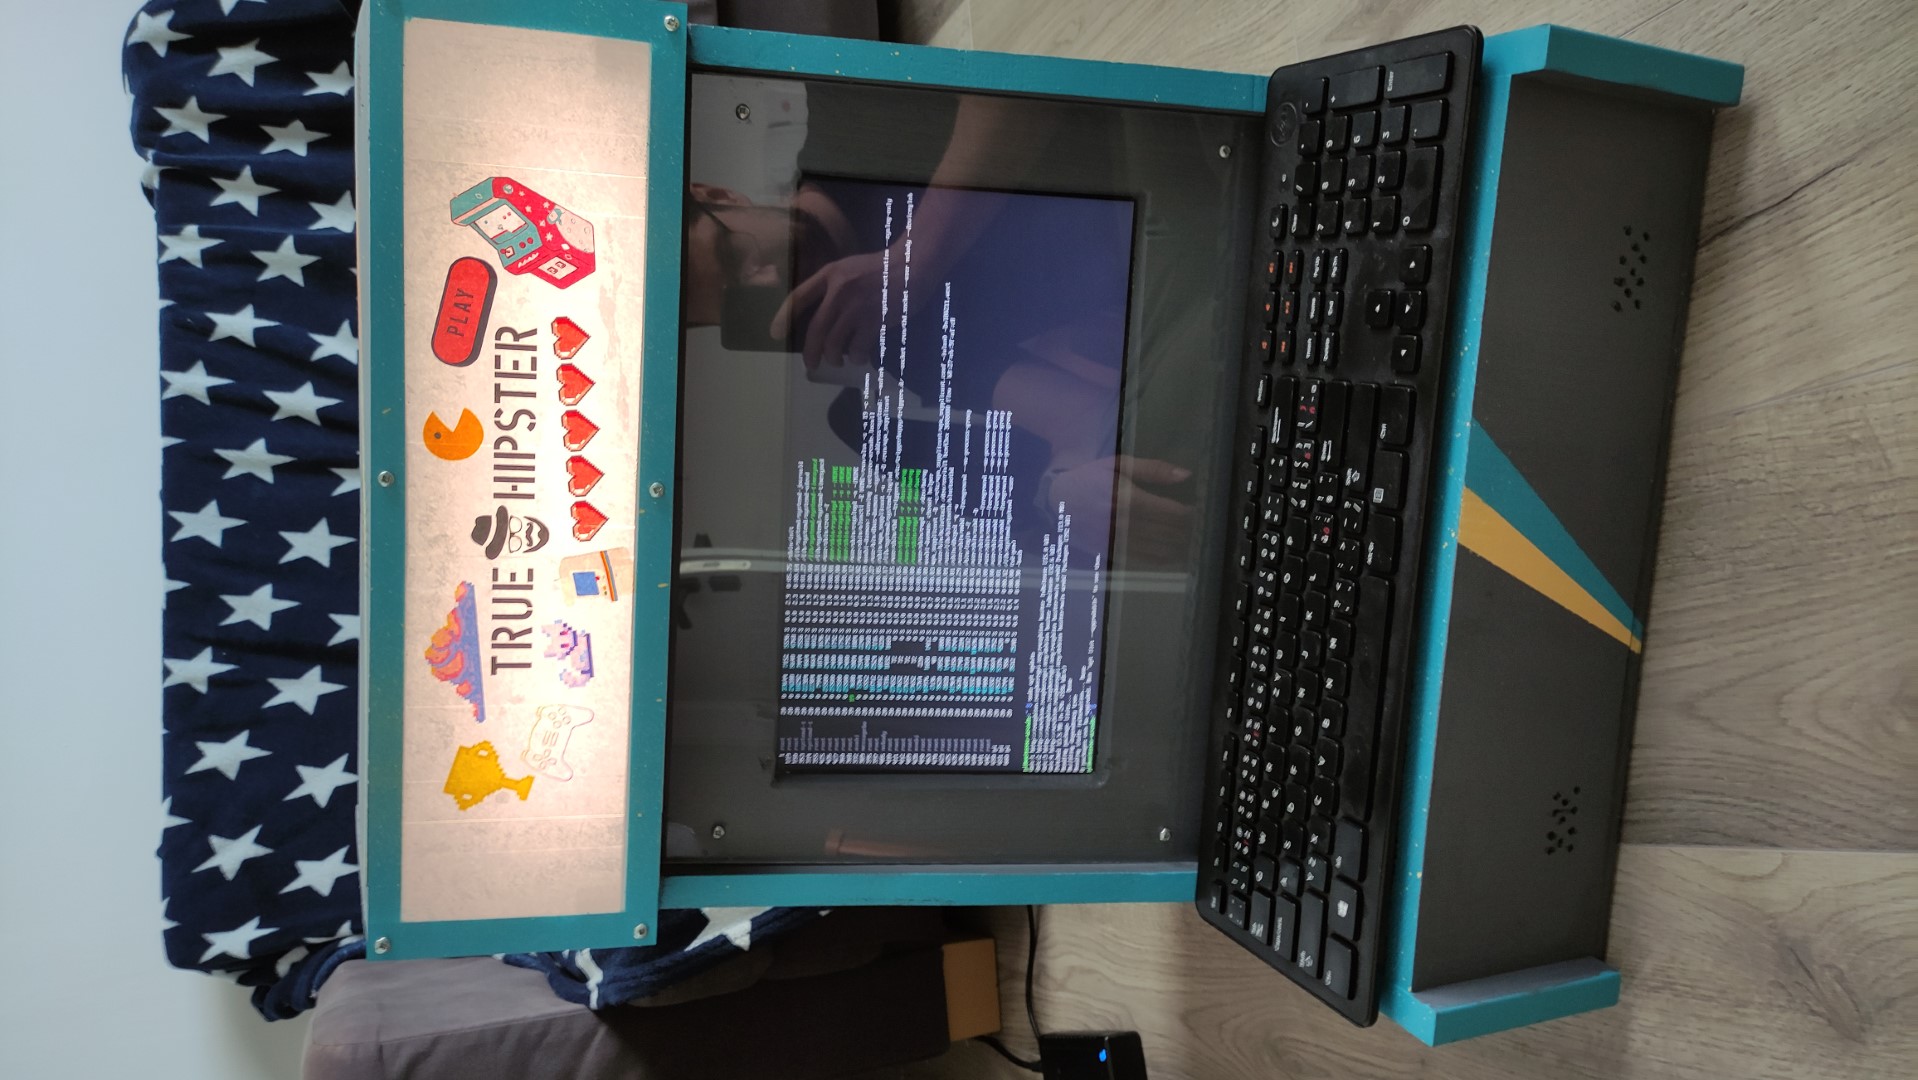
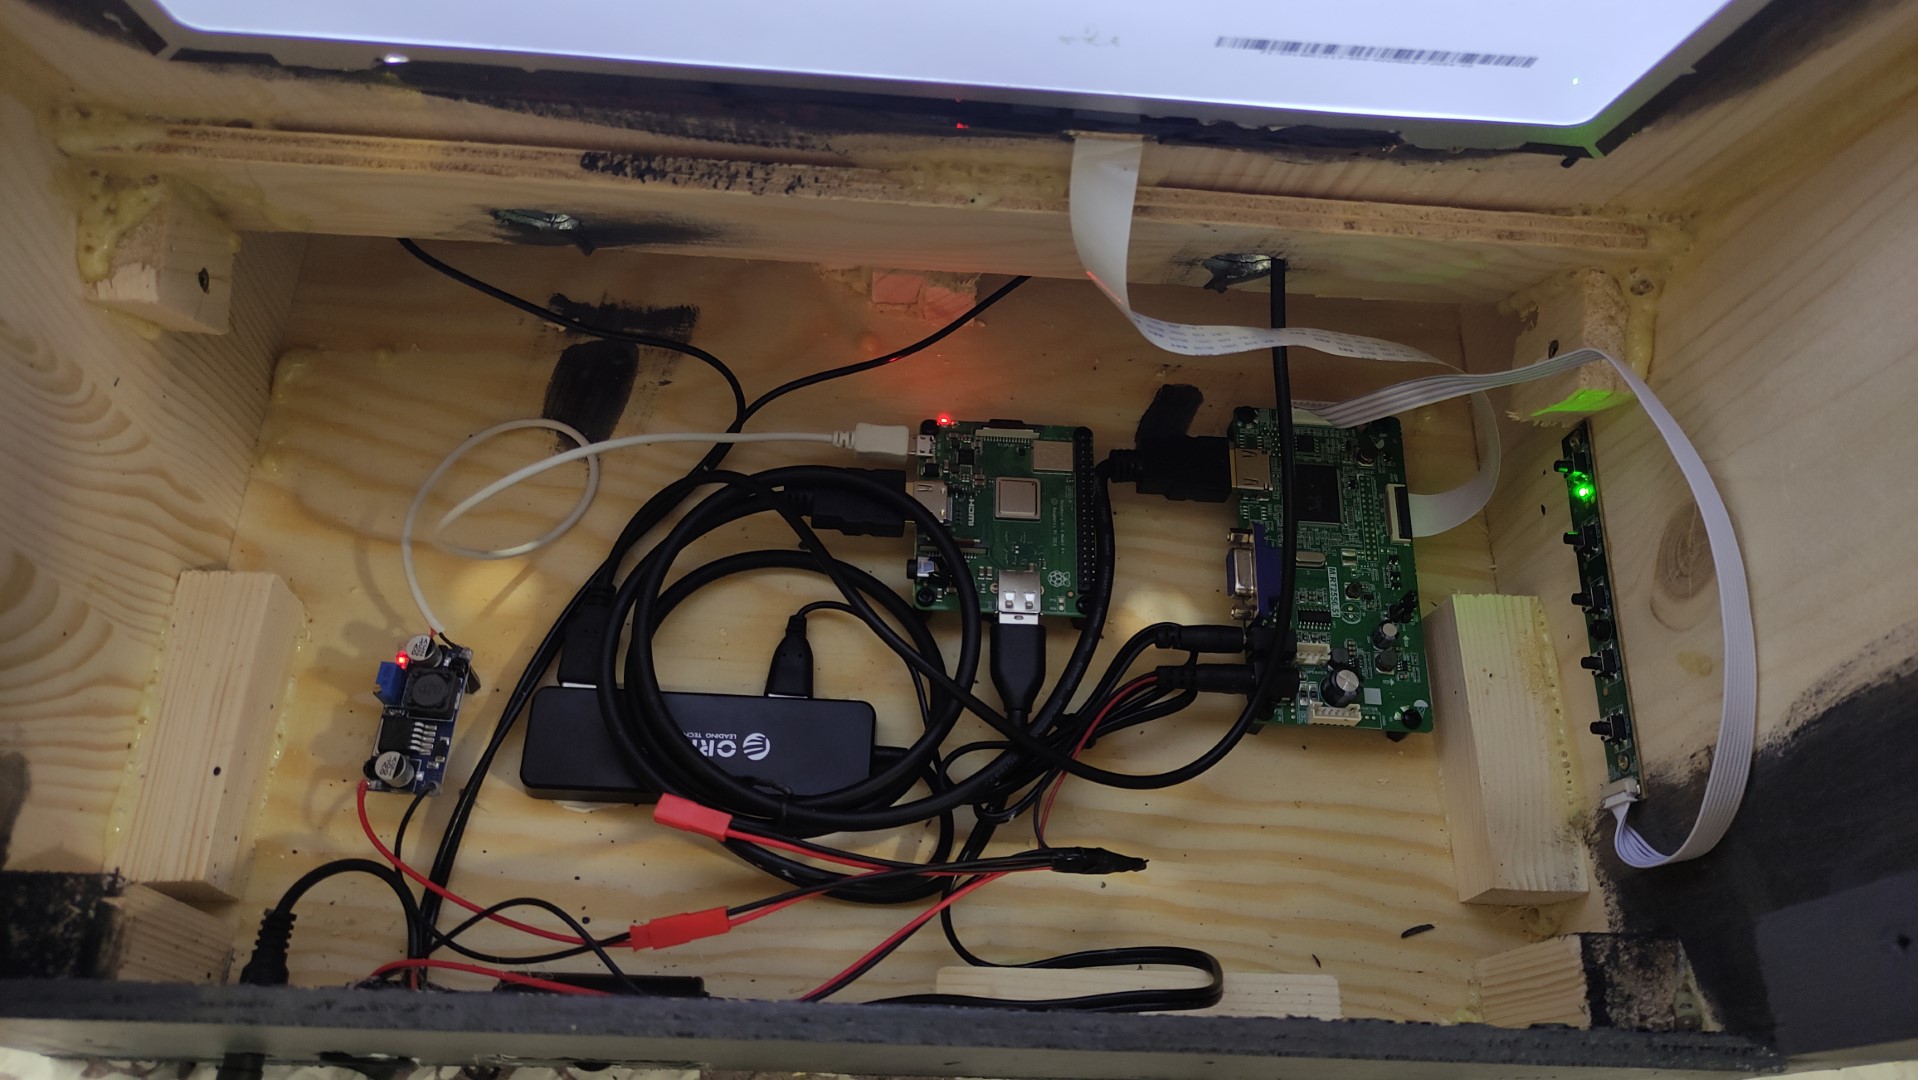
The internals - the base is a Raspberry Pi 3A, with a display from an old notebook and a control board with an HDMI output. USB hub, speakers, and LED strip.
Almost done - just need to light up the top “marquee” and connect old gamepads.
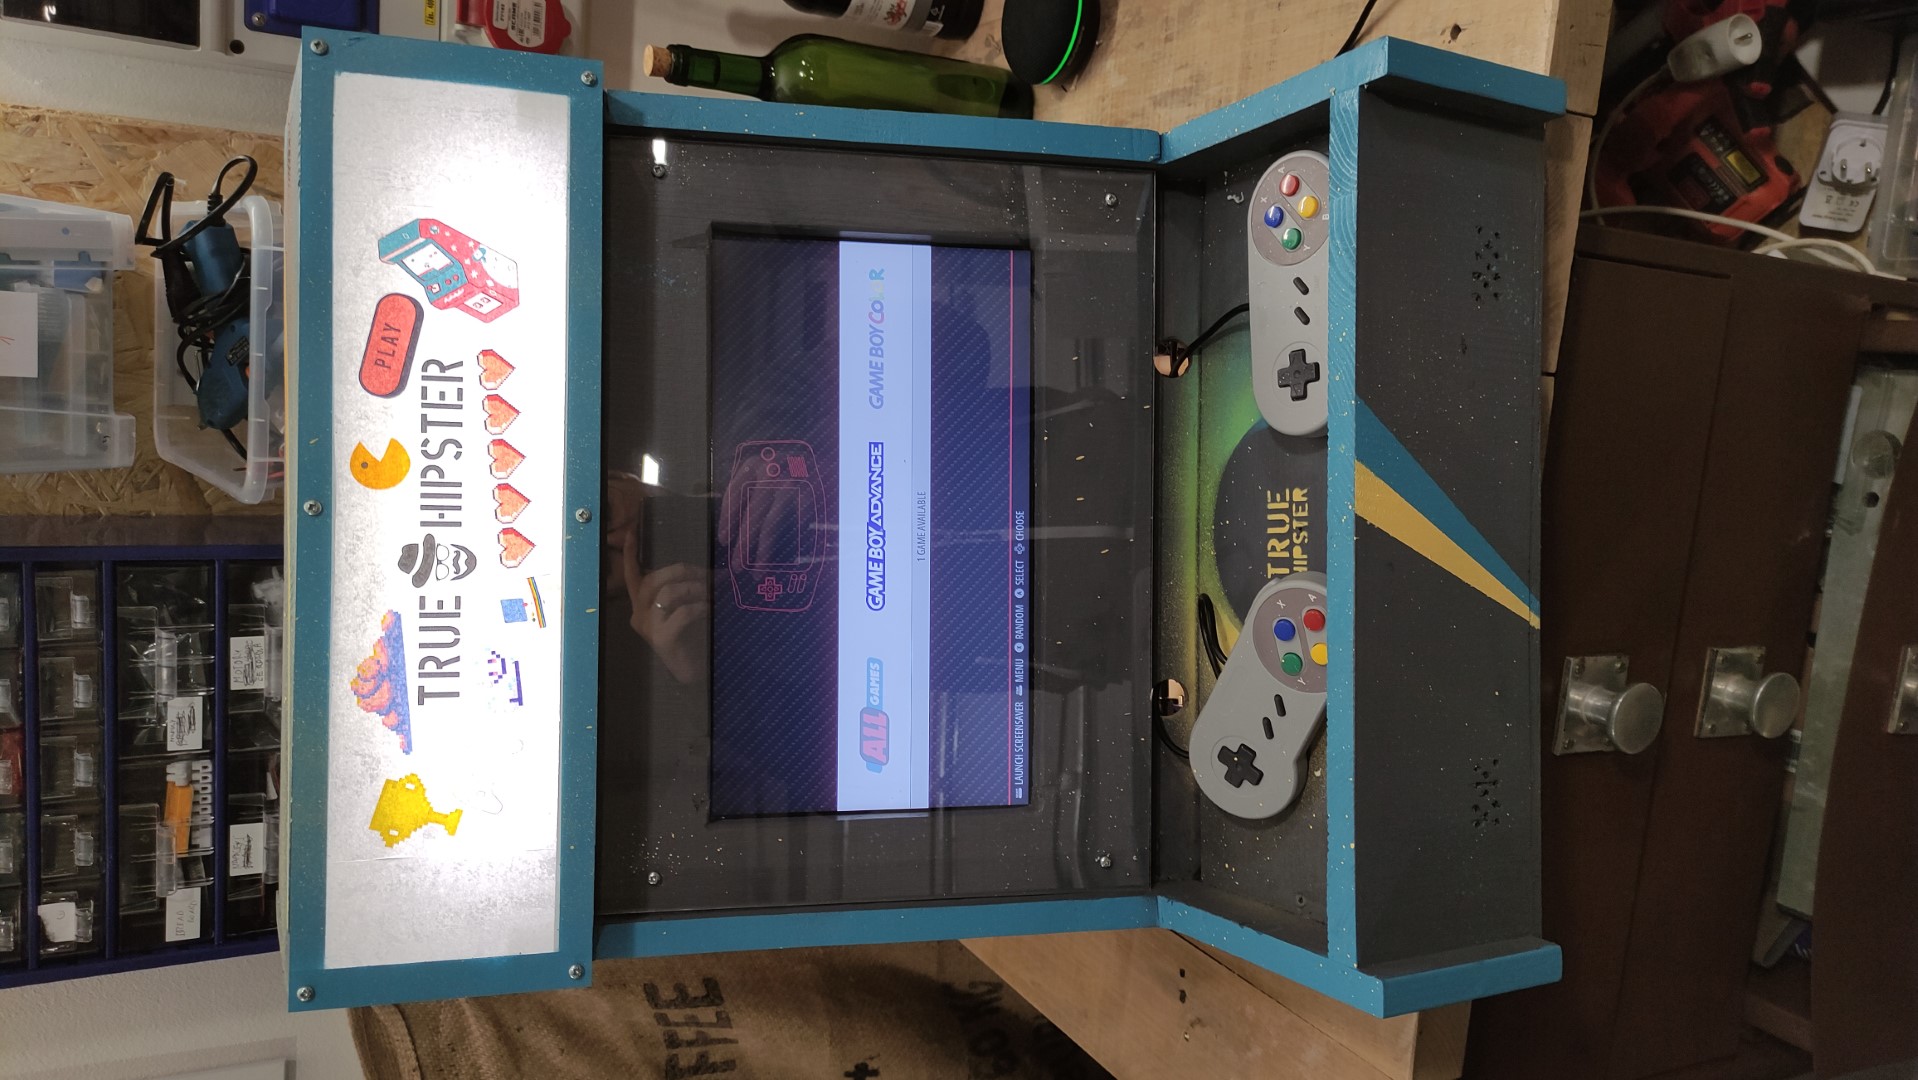
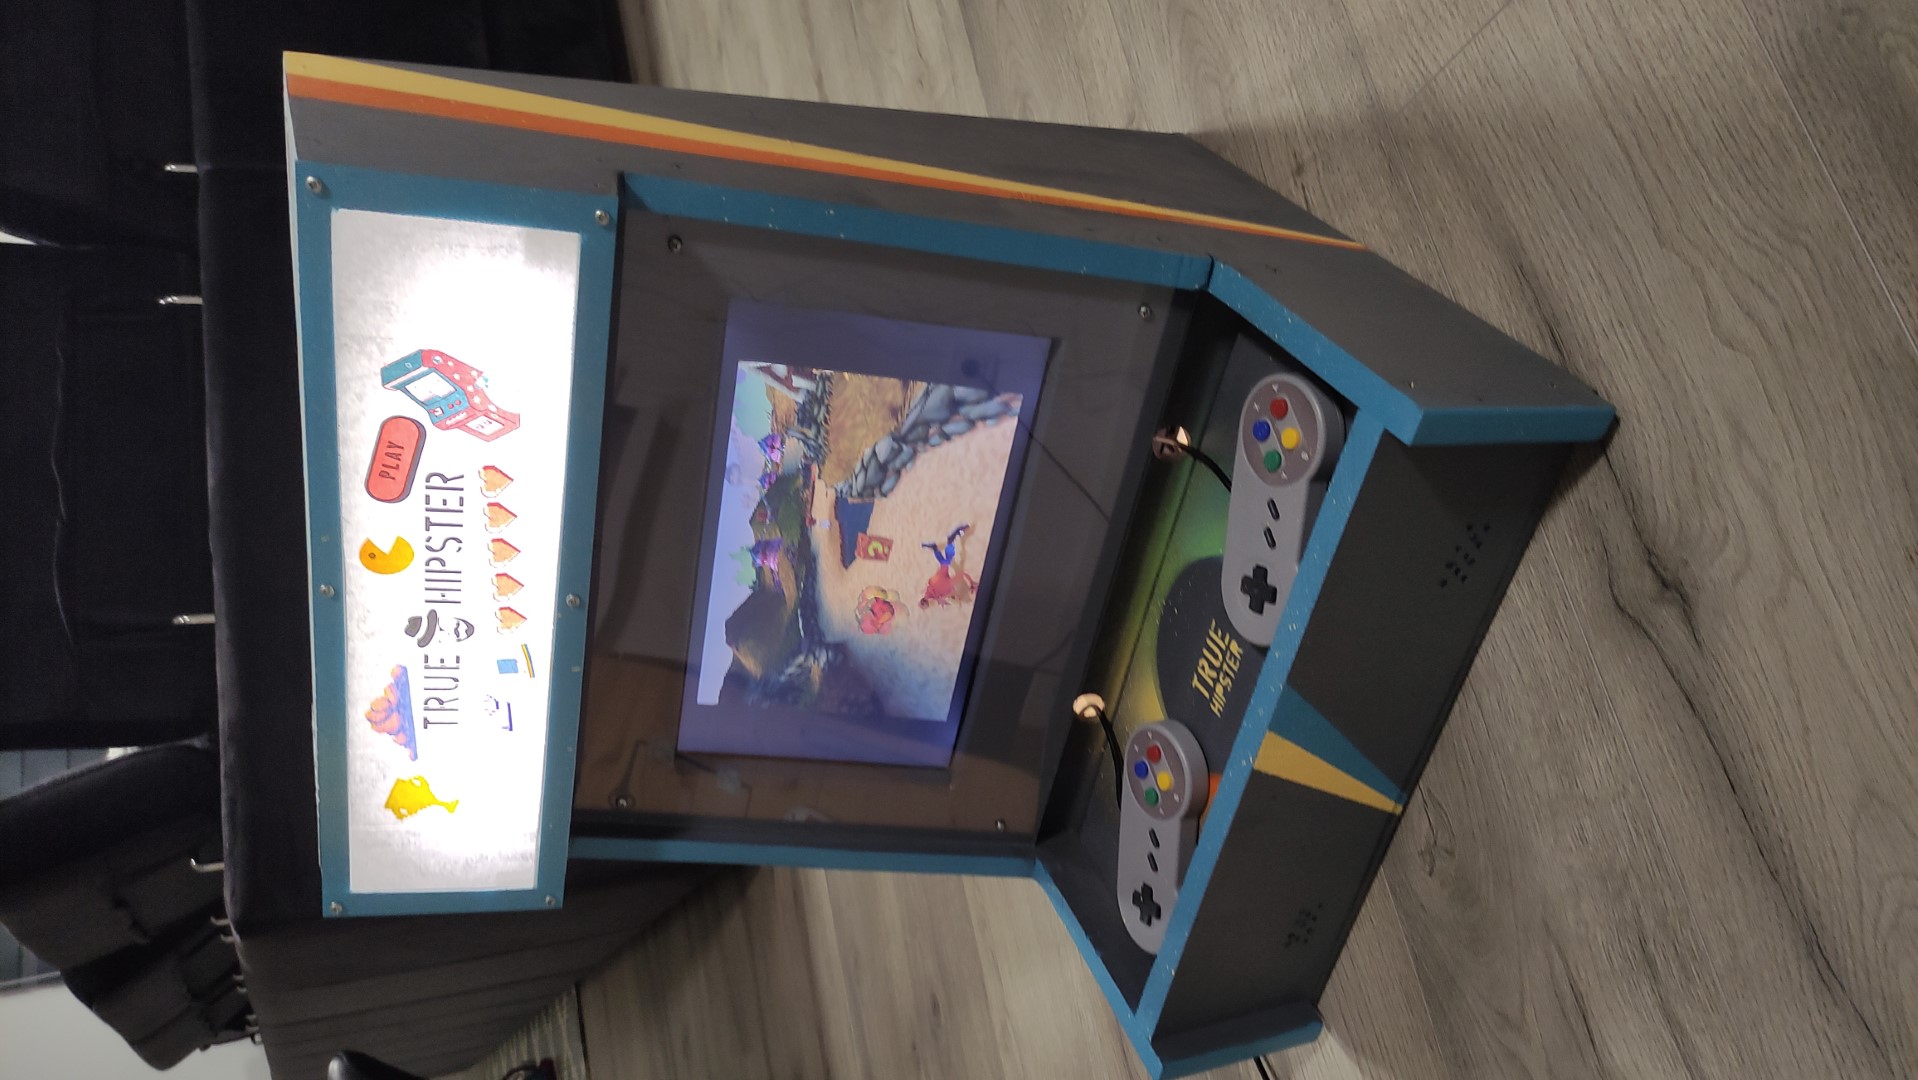
And we can play.
And Linux users can compile something in peace.